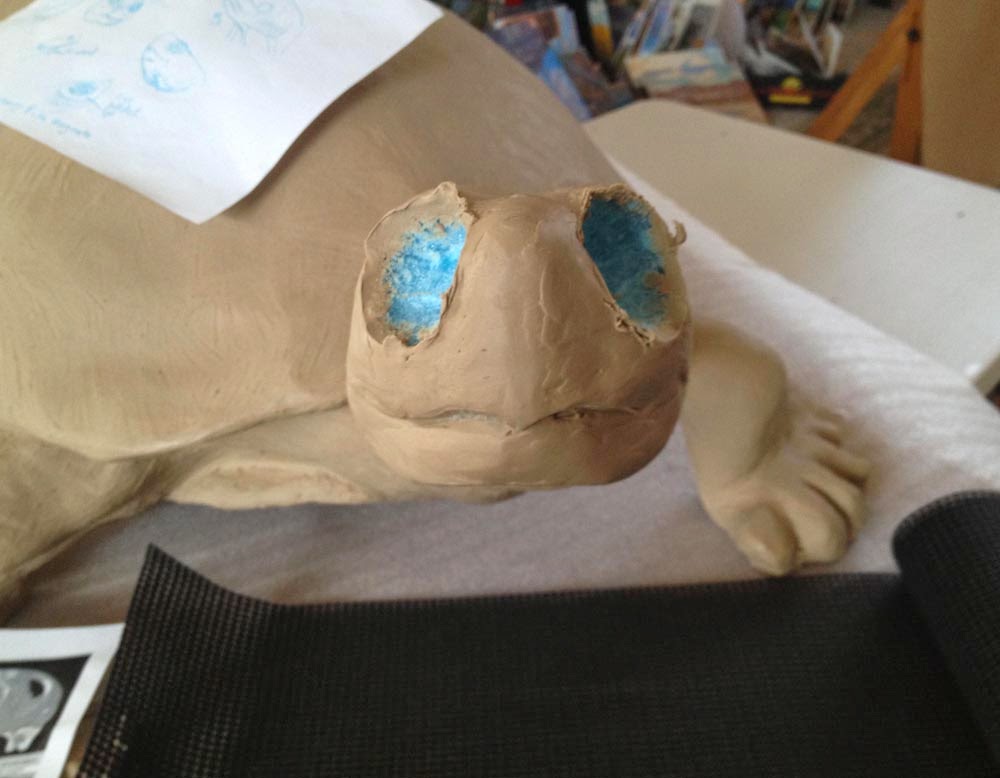
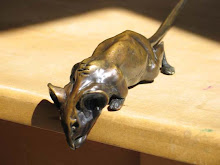
I've re-made a few of my pieces in different sizes.
I didn't know how to do it, so I just muddled through with a calculator and a photocopier and lots of scraps of paper.
If I'd known about this other way of doing it I'd have saved myself a bunch of time and headaches.
I wish I'd known about this right from the get-go!
It's based on the notion that the ratio of enlargement of the overall height from your model to the intended enlargement, is the same for all the other measurements you can make.
Same for an arm, a head, a nose (even a very long nose), whatever.
Like most things useful I find out about, it's as old as the hills and I reckon I must be about the last person on earth to hear about it. I found this method in a book 'The Sculptor's Way' by Brenda Putnam, published by Dover.
Just in case I'm not the absolute last person to hear about it, here goes…

The long line at the bottom (AB) is as long as the height of the intended enlargement.
With some calipers, measure the height of your small piece. Put one end of the calipers at the far end of the long line (B), and make an arc.
The radius of the arc is the height of your small piece.
From the near end of the long line (A), make a longer diagonal line that just touches the arc.
This line is what you use to figure out your proportions.
Say you want to find out how long to make the leg of your enlargement.
Measure the small model's leg with calipers, and make an arc the same way you did at the end of the long line, but this time it will be closer to the near end, somewhere between A and B. So you slide one end of the calipers along the base line until you can make an arc that just touches the diagonal line.
The caliper will only be able to do this at one point on the base line, C.
The distance from point A to your caliper point on the base line 'C' is the length of the leg of the enlargement (AC).
And so on with all your other measurements.
I suppose you could even use string to measure circumferences (lay the string out and use it like it was any other measurement).
If you did that you might have to extend the lines beyond your original arc, if you're making something very fat.
Pretty neat huh?
All you need to do is make the original triangle type lines on a big bit of cardboard or something, and you're all set.
You need calipers that are small enough to measure off your small model and others big enough to use for your large one, but getting them is well worth it for the grief you'll be saved!
And even better, you can reverse the equation to reduce pieces.
The radius of the first arc is how big you want the piece reduced to, the base line is how big your original piece is.
Of course you still have to do all the actual work!
If money is no object but you're short on time, do what a lot of people do and get a digital enlargement in foam to serve as an armature and finish it off with clay!
I have never tried this, but if I had to make an enlargement that was really huge, say a life sized elephant for example, I think I'd go that route.
This is the largest of my Senior Moments at about 20" tall (I made four different sizes).